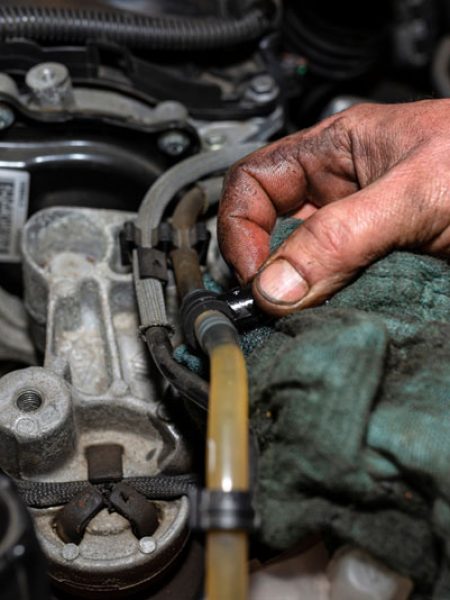

Diesel engines can run in extreme conditions, but one thing they do not like is air in their fuel systems. Air in the fuel system can delay or prevent the diesel fuel from reaching the injectors, making your engine difficult to start, reducing the engine’s power, or, in severe cases, causing the inability to start the engine. Air can enter your diesel engine’s fuel system in several ways, most commonly by running out of fuel, from leaks in your fuel lines, or following a fuel filter change.
Before attempting to bleed the air from the fuel system, ensure you have determined how air entered the fuel system so air does not reenter the system after completing the bleeding process.
Also, since you already need to work through the bleeding process, consider replacing the fuel filter if it is old or approaching the end of its life. Of course, you should also exercise caution and follow all safety guidelines throughout this process.
Assuming you are satisfied that you do not have an unremedied problem that will continue allowing air into the system, the 7-step process detailed below should resolve your issue. So, let’s get started.
The first step is to gather the tools and other materials needed for the job. These include:
Step 2 is to familiarize yourself with the engine you are working on and identify the key components of its diesel fuel system, including the fuel tank, fuel lines, fuel filter, and fuel injectors. Take a moment to review the engine’s fuel system layout and connections.
Step 3 involves working with the fuel filter, so confirm that you turned off the engine and removed the ignition key from the cylinder.
Next, locate the fuel filter and determine whether it has a built-in bleeder screw. If the fuel filter has a bleeder screw, move to Step 5. If the fuel filter lacks a bleeder screw, then go to Step 5.
If the fuel filter does not have a bleeder screw, you may need to loosen the filter slightly to allow the air to escape.
If your fuel filter does not have a bleeder screw, or if you think air remains in the system, you may need to bleed the fuel system at the fuel injectors. If either situation is the case, follow the steps below for each cylinder, starting with the cylinder closest to the fuel pump.
After bleeding the fuel system, try to start the engine. If the engine starts, allow it to idle for a few minutes while looking for signs of rough idle or reduced power.
As the engine idles, inspect the fuel system components for signs of fuel leaks or other damage.
If the engine does not start or there are indications that air remains in the fuel system, return to Step 4 or Step 5 and repeat the bleeding process at the fuel filter or fuel injectors.
Following these previous steps should effectively remove air from the fuel system and ensure proper fuel delivery. If the steps outlined above resolve the problem, you can move on to the final step of properly disposing of any spilled fuel, general clean-up, and returning your tools to their proper location.
If you encounter any difficulties or persistent issues after repeating the bleeding process, consult a professional diesel mechanic or contact the manufacturer for further assistance.
Some heavy truck owners consider bleeding air from a diesel fuel system a regular maintenance task, particularly those without an AirDog® fuel system. As described in a previous article, AirDog® fuel systems remove entrained air from diesel fuel. They are also more forgiving of procedural mistakes that allow air into the system when changing fuel filters. Furthermore, the integrated fuel pump in the AirDog® fuel system makes easy work of priming the fuel system after fuel filter changes and service.
To reduce the likelihood of having to bleed air from your fuel system in the future and to benefit from improved fuel economy, better performance, and reduced engine wear and tear, consider replacing your current primary fuel filter with an AirDog® fuel system. You will enjoy immediate and long-term benefits as a result.


Heavy-duty diesel fuel systems from AirDog will help increase your mileage and injector life by removing water, vapor and contaminants. Made in the USA since 1990.
PUREFLOW™ TECHNOLOGIES, INC.
5508 Business 50 West
Jefferson City, MO 65109
© 2025. All rights reserved.
Site by Zimmer Communications